Face(s) of Day 8 = fun, fun, fun.
I got to:
- create stencils out of freezer paper. *
- play with the effects of alcohol on acrylic paint*
- spray paint
*Links of Tutorials
The process.
Cut.
To make the stencil I first sketched the first face (left) with pencil (on the dull side of the freezer paper). Then I cut out shapesfrom the sketch with an x-acto knife.After the first face, I realized I found the sketching--->cutting process tobe tedious, so I free-handed --with the x-acto knife -- the second face, the one in the blue (see the finished photo below).
Iron
I ironed the stencils onto the canvas, then started to paint. I had no real concept to work off of so I just winged it.
Paint
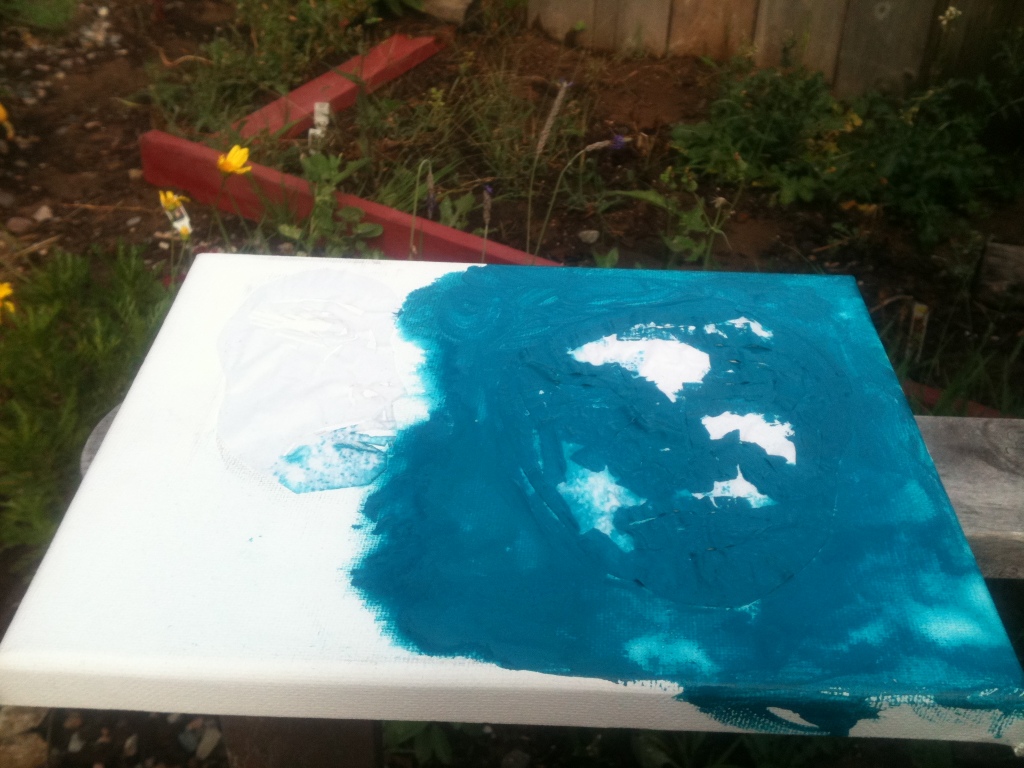
Spray Paint, Acrylics, Paper Towels, Drips, Mix
[caption id="attachment_49" align="aligncenter" width="390" caption="Beginning to paint over the stencils"]
 [/caption]
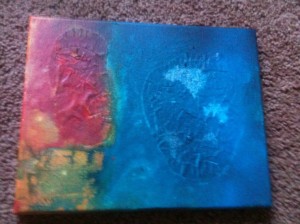
[caption id="attachment_51" align="aligncenter" width="401" caption=" i love Acyrlic + Alcohol"]
 [/caption]
Peel!
After paint dried, I peeled the stencil off.
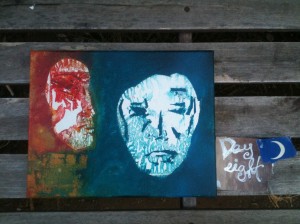
[caption id="attachment_52" align="aligncenter" width="513" caption="Day 8... finished product"]
 [/caption]
Although it didn't turn out as crisp and neat as I'd hope I like the effects created by the acrylic- alcohol- water mix. Also, freezer paper stencil are supposed to work best on fabric, so I don't think primed canvas was the ideal surface for the stencil to seal onto. Either way, I'm digging freezer paper.
I dig your face, cutie! I'm so excited to see your creative energy transform into these amazing vignettes of exploration!! Keep up the good work, you're going to have an amazing portfolio after a year :)
ReplyDelete